1) First you need to login your blogger account
Go to Basic tab under setting option
then Click on link under blog address (see on image)
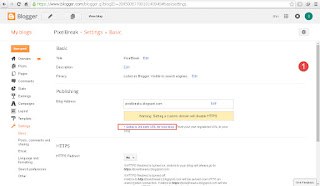
2)Now you will get this window
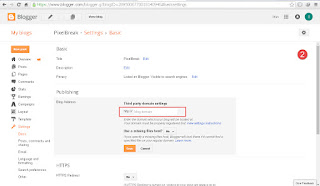
3) Write your domain name in the text field and click on save button
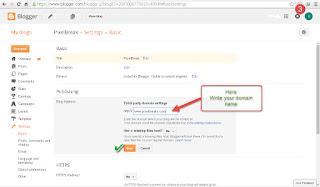
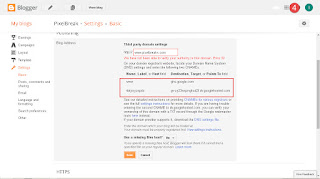
4) After click on save button you will get this window
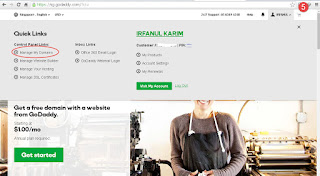
5) Now open a new tab in your browser and goto your godaddy control panel and click on
[manage my domain] option
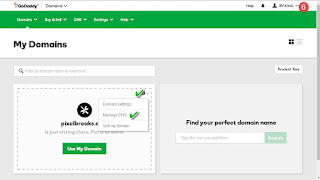
6)Then you will get this window. Click on manage DNS option for configure your custom domain to blogger.
7)After entering DNS management section will get this window
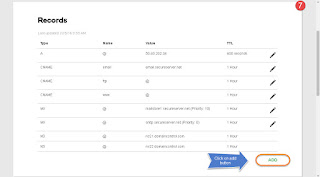
8)Now Click on ADD Button.
Add host information as i mention in screenshot then click on save button.
(you can find this information at step 4)
9)Click on ADD button Again.
now add second host information which you found in step 4 then save it

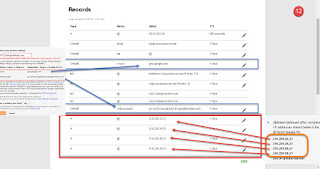
10)Now add this 4 google ip in your godaddy dns section.
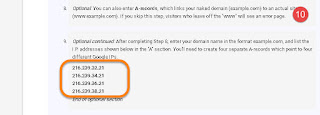
11)To do this first click on add button and add a ip just like screenshot

Repeat this step 4 times for adding 4 ip into godaddy
12)After Completing all steps your Godaddy dns setting look like this screenshot
13)Now back to blogger(step 4) and click on save button.
if you have done all setting successfully you will get this window
[be sure to check on redirects option]
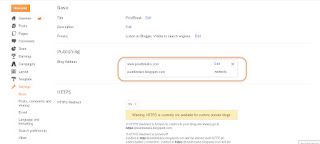
Now your blog will visit by your custom domain
(sometime it takes some times for work this option so wait at least 24hr if it not works)
For better understanding watch my video
if you have any question please comment

No comments:
Post a Comment